The Simplest Home Automation Project
Post Type: Setup
I titled this post the "Simplest Home Automation Project". This may be a bit of an overstatement, but it is a good first project that will allow you to expand your system if you get hooked on home automation. In this tutorial, I'm going to show you how to setup the WeMo Mini Smart Plug from Belkin. The same basic steps apply to the original WeMo Switch and the WeMo Insight which adds energy monitoring.
The WeMo Mini Smart Plug will allow you to automate a single wall plug with a single device and the appropriate app for your existing Android or iOS device. This is just about the lowest cost for entry into home automation. This product is appropriate if all want to do is be able to on or off a single load such as a lamp or small appliance. Since it is a plug-in device, it is appropriate for those who are renting their homes where wired-in products might be frowned upon. I recommend this product over simple remote control switches because if you decide you want to grow your system, the WeMo is compatible with other home automation products including Amazon's Echo line of voice control devices as well as many home automation hubs, including SmartThings and Vera. This protects your initial investment and allows centralized control of your home. I will cover integrating the WeMo switch into a complete home automation system in a future tutorial.
Let's get started.
Step 1
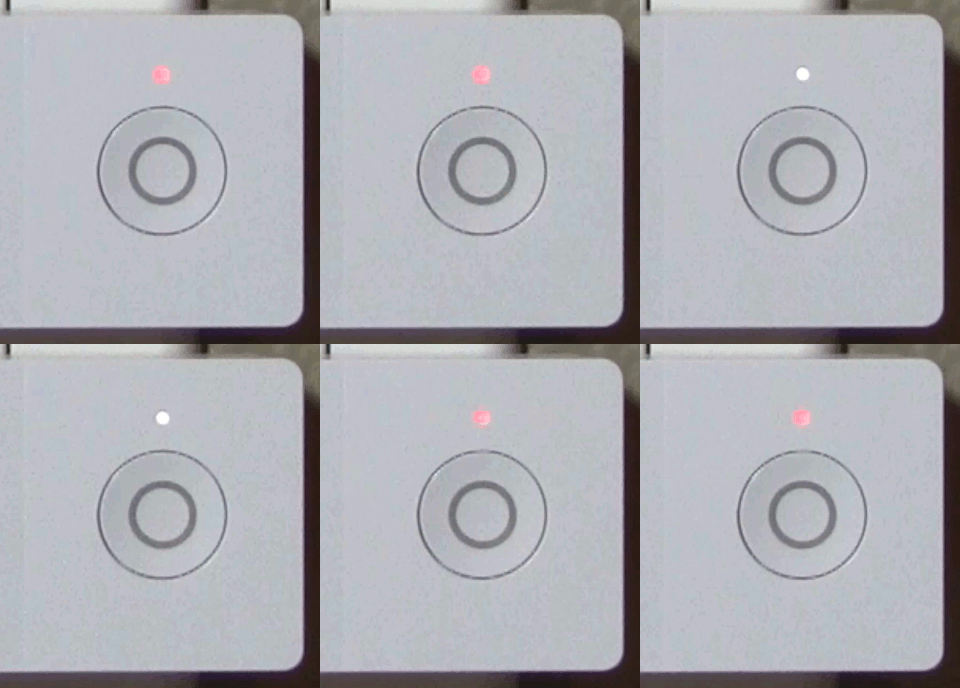
Plug the WeMo switch into any wall outlet. After a few seconds, the WiFi indicator will flash in alternating colors depending on the switch model you are installing.
Step 2
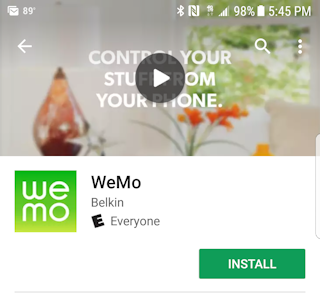 Download and install the appropriate app for your mobile device from either the [android or apple app store]. I will be demonstrating the Android version because that is what I use. DO NOT LAUNCH THE APP YET.
Step 3
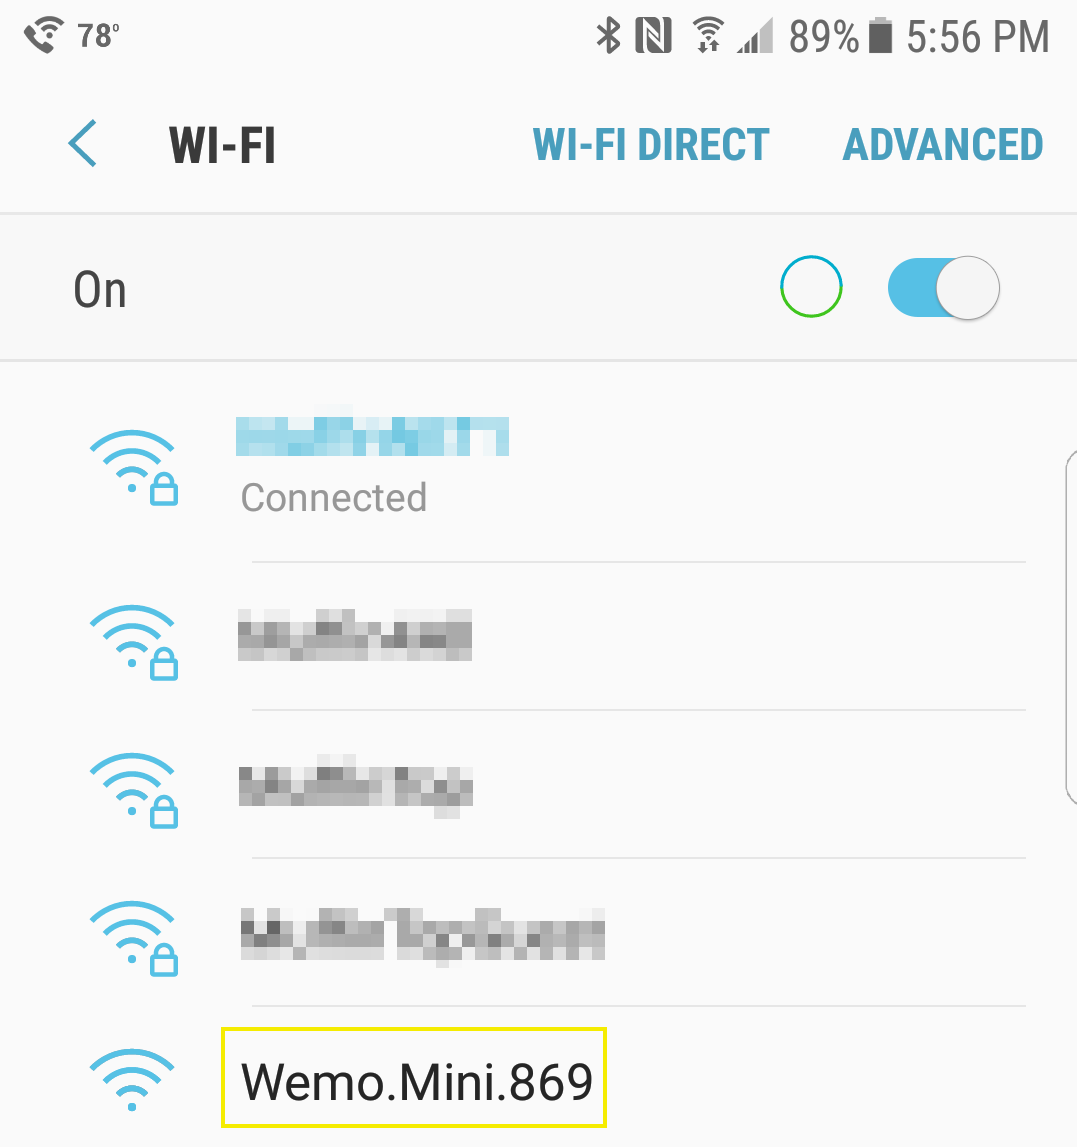
Once your app is installed, open your device's settings and make sure that WiFi is enabled. If you have used WiFI in the past, your phone will probably connect to your home WiFi by default. You will also see any nearby WiFi networks as well as any unconfigured WeMo products. The unconfigured WeMo products will have a network name like Wemo.xxxx.### where xxxx indicates the model of the device and ### indicates a unique number assigned to the device. This network name should be printed on a label on the back of the device.
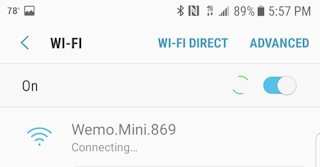
Tap the name of the device that you are installing. Once you select the device, your phone shows that it is connecting to the network.
The WeMo setup network is not password protected, so once you select the device you will be taken straight to the setup.
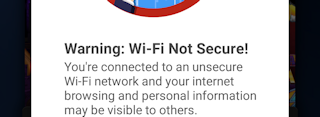
If you are running an antivirus app, you may get a warning indicating that you are connecting to an unsecured network. As long as you are sure you are connecting to your new WeMo device it is okay to ignore this warning.
Step 4
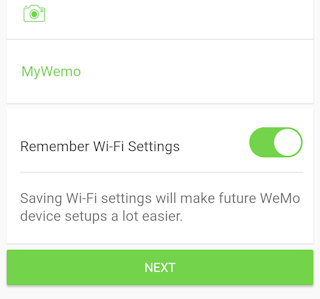
Once you are connected, the WeMo app will display a picture of the device you have just connected and a wizard will guide you through the remainder of the setup. You should first give the switch a name indicating the load you are planning to control (e.g. bedroom lamp, living room lamp, shop fan, etc.), especially if you plan to add more switches to your system in the future.
Step 5
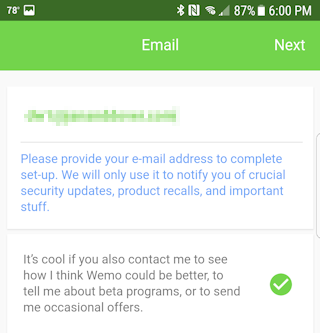
After entering a name for your device, tap next. The wizard will ask for your email so that you can be notified of security updates or recalls. I recommend filling this information out. You can also opt to receive information about new products or programs. Once you've completed this screen tap "Next".
Step 6
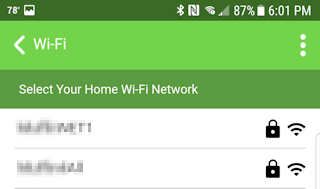 The wizard will now show a screen listing available WiFi networks similar to the one you saw on your phone's WiFi setup screen.
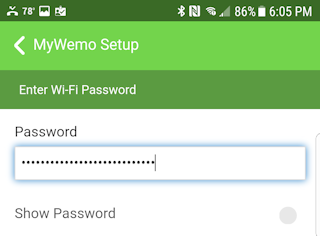 Select your home's wireless network and the wizard will prompt you for your network's password. Tap "Save".
Step 7
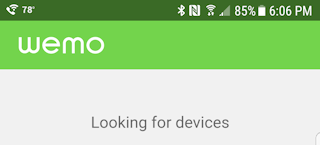
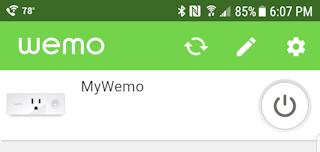
Your device is now configured to connect to your home network. The WeMo app will start looking for devices connected to your network. When completed, the app will display a list of all configured devices.
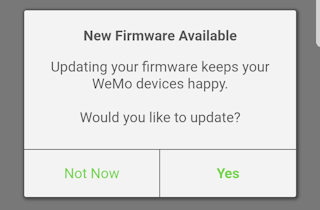 It's possible that the app will detect that your newly added device has outdated firmware.
I highly recommend that you go ahead and install the firmware update. Firmware updates may add new features, improve device performance and stability, but most importantly, often contain security updates. Tap "Yes" to proceed with the update.
Step 8
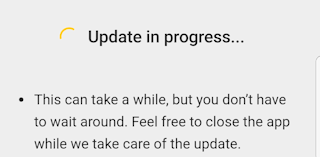
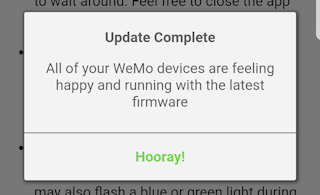
The wizard will display the "Update in progress" message. The firmware update can take a significant amount of time depending on the speed of your connection. You can use your phone for other tasks while the update is running. Depending on your device the LED may flash during the update process. When the LED stops flashing, the update is complete. When the update process is completed, the WeMo app will display a message. Close this message to proceed to the main app window.
Your new WeMo device is now configured and ready to be used. You can now use the app to switch your WeMo device on/off and to control power to the attached load. To switch your device, press the power button icon next to the device you want to control.
In the video below, I'm controlling a tabletop lamp plugged into the configured WeMo Mini Plug. The lamp is outfitted with a 60W equivalent non-dimming LED.
When your device is switched on, the power button icon will be surrounded by a green ring to indicate the power status.
You can also use the physical power button on your WeMo device to locally switch a load on/off.
If you use the button for local control of a device, the current status, on/off, will also be displayed in the app.
Since the WeMo Mini Smart Plug is a non-dimming controller, it is ideal for controlling small appliances such as a fan. It should also be suitable for controlling most non-dimmable energy efficient lamps including compact fluorescent and LEDs. Just be sure that your switched load does not exceed the rating of the Mini Smart Plug. Mine is rated at 15A, but be sure to check your actual device before plugging in your load.
If all you want to do is provide remote control of a single device for convenience, then you are done. If on the other hand, your goal is to transform you home into the home of the future for convenience, to assist a resident with mobility issues, or just because it's cool, then you have just begun. Watch for future tutorials on alternative methods of implementing home automation, as well as methods to incorporate the project you've just completed, and extend your home automation system.
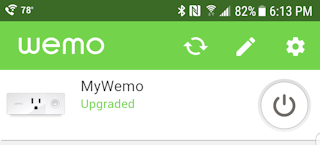 You should see your recently updated device in the list of configured devices.