Setting Up the LIFX+ Smart Lamp
Post Type: Setup
The LIFX+ Smart Lamp is a color-tunable, dimmable, Wi-Fi enabled, LED A19 replacement bulb. While the bulb is of an unconventional shape, it will fit most fixtures that take a standard A19 bulb. Being Wi-Fi, the LIFX+ connects to your home network without requiring a hub or bridge. While the LIFX+ is also compatible with many home automation hubs like Samsung's SmartThings or the Wink Hub, the fact that it can be connected to your existing home network and controlled from an app on your mobile device without any additional hardware makes it an inexpensive entry to the world of home automation. The LIFX+ also includes a unique feature when compared to other Wi-Fi smart lamps. When the main lamp is turned off, an IR LED illuminates. While the IR LED is invisible to the human eye, it provides supplemental lighting for security cameras with IR night vision. I will cover this in some detail in a future post.
Steps to setup the LIFX+ Smart Lamp.
- Download and install the official LIFX app from the appropriate app store. I will be using the Android version.
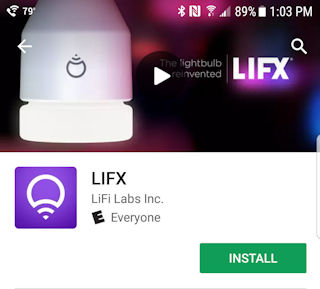
- Once the download is complete open the app. You will be prompted to log in or register if you have not already established an account with LIFX as shown in the image below. Since I already have a LIFX account, I'll be selecting "Sign In".
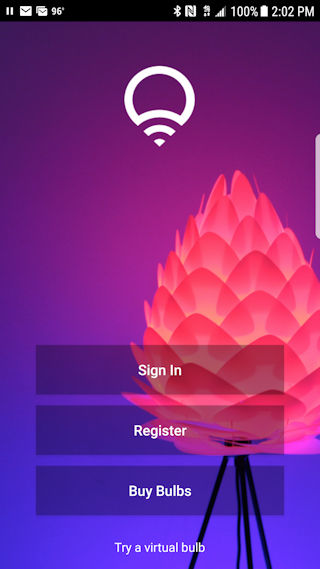
- Enter your credentials, or select register if you are new to LIFX. Once you are logged in, you will be prompted to turn on your Wi-Fi if it is not already enabled.
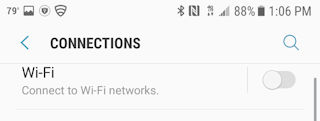
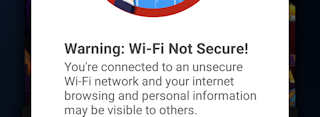
- Once your Wi-Fi is enabled, you will see a list of available Wi-Fi networks including your home Wi-Fi, neighboring networks, and a network that begins with "LIFX" followed by a series of characters that uniquely identifies your specific LIFX Smart Lamp. Tap this network to connect to your LIFX lamp. This is an unsecured network and does not require a password. If you are running a security app on your phone, you may get a notification that you are connecting to an unsecured network. You will have to allow the connection to proceed with the setup.
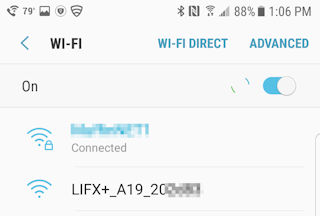
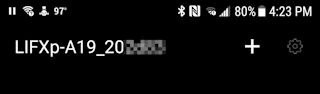
- Now that you are connected to the LIFX Smart Lamp, return to the LIFX app to continue the setup. In the LIFX app, the lamp you connected to in the last step should be displayed as the active SSID. Tap the + sign to add a new item.
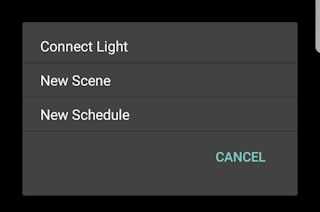
- You'll see an option to "Connect Light". Tap this to setup your new lamp.
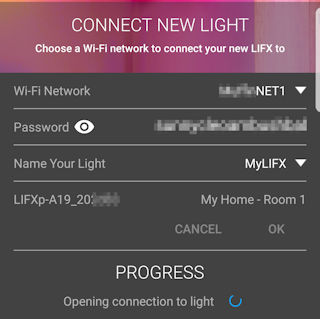
- Select your home Wi-Fi network from the dropdown and enter your network password. Select "Name Your Light" to give your new lamp a meaningful name (bed lamp, kitchen light, etc.) and to assign the lamp to a room or group if desired.

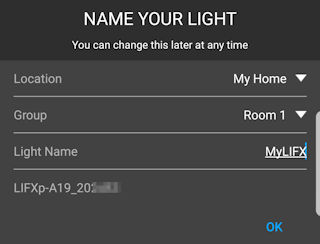
- Tap "OK" and the app will connect to your lamp and upload your network credentials, then try to find the lamp on your home network.
- If everything connects properly, you will be taken to the home screen of the LIFX app where you can access your newly installed lamp and control different aspects of the lamp depending on the model you have.
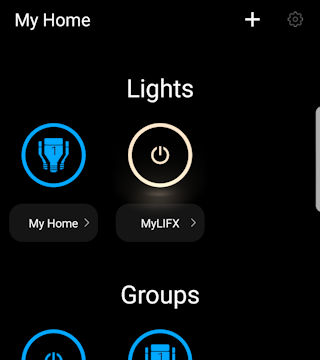
For example, with the LIFX+ you can turn the lamp on or off, set a brightness level, set "white" color balance, chose a color for your light, or select a predefined theme or effect. I will cover these features in more detail in a future post.
Enjoy your new smart lamp. In future posts I will be presenting tips on getting the most out of your new LIFX+ smart lamp whether you are using it in a standalone application or as part of a larger home automation project.